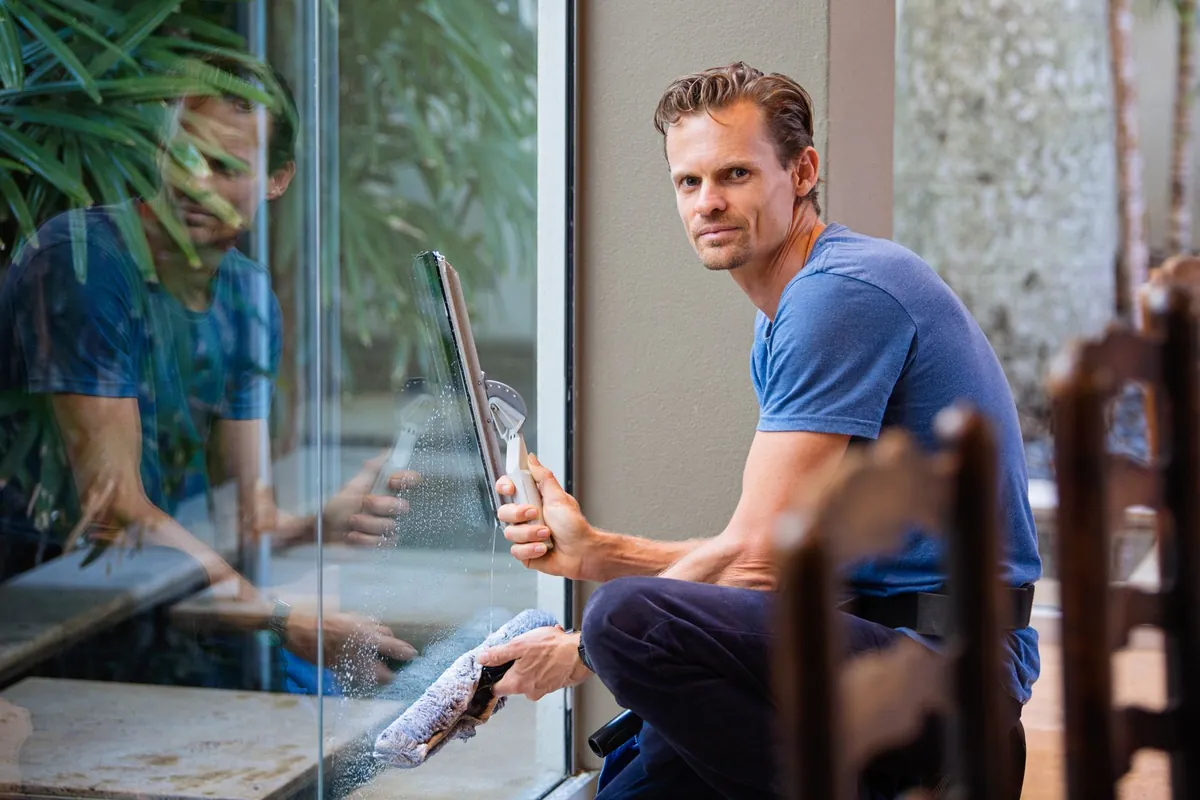
How to wash a window properly: the four stages
The complete residential window-washing sequence — apply, squeegee, scrape, detail — animated and explained. The order matters. The skipped step is the streak.
PUB. FEB 14, 2026
The four stages of a proper wash, in order:
- Apply — solution onto the glass with a sleeve, sea sponge, or spray bottle.
- Squeegee — remove the solution in one pattern (fan, straight pull, or S-stroke).
- Scrape — at low angle, only if there are deposits the squeegee left behind.
- Detail — perimeter and corners with a folded microfiber. This is where amateurs stop.
Skip any one and the result is visible. The article walks through each stage, with the canonical animation embedded for every technique.
Why most window-washing instructions are wrong
The standard advice on window cleaning, the kind you find in a five-paragraph blog post or on the back of a bottle of Windex, makes the same mistake every time. It treats the job as one motion: spray, wipe, done. That is not what professionals do, and it is not what produces a clean window.
Window washing is four motions, in order. Apply the solution. Squeegee it off. Scrape anything the squeegee left. Detail the edges. Skip any one of these and you will see the result — sometimes immediately, sometimes ten minutes later when the perimeter bead runs back across the dry pane and ruins the work.
Window washing is four motions, in order. The squeegee is one of them. The other three are why your squeegee was not enough.
— Abby Giordano, on training new hires
This piece walks through each stage. Every stage links to the canonical animation for the technique. By the end, you will know exactly what a proper wash looks like, why each step exists, and which step you have probably been skipping.1
Before we begin, two things to remember. First: the order is not optional. A scrape before the squeegee leaves debris on the glass that the squeegee then drags around. A detail before the squeegee leaves a wet bead on a dry cloth, which then gets used as a smear tool. Second: the only stage that is sometimes skipped is the scrape. If there are no deposits, you do not need a razor blade. The other three are always required.
And one thing that happens before Stage 1 at all, if the window has one: window screens come off first and go back dry. A screen reinstalled wet over glass you have just finished weeps down its own bottom rail and undoes the detail pass twenty minutes after you have left.
Stage 1 — Apply
Solution does not magically arrive on the glass. The first stage of any wash is putting it there. The tool varies — sleeve, sea sponge, spray bottle — but the goal is identical: a thin, even film of cleaning solution covering the entire pane, edge to edge, before the squeegee touches it.
The most common amateur mistake at this stage is under-application. A few quick sprays from a bottle, a spotty patchwork of wet and dry, and the squeegee meets uneven resistance — sliding fast over wet sections, dragging over dry ones, and skipping where the cleaner thought there was solution but is in fact already evaporated. Streaks at the squeegee stage almost always trace back to a problem at the application stage.
The pro standard is the sleeve wash. A microfiber sleeve over a T-bar handle, dipped fully in a bucket of solution, lifted, and squeezed once on the rim to calibrate saturation. Then applied to the glass in a deliberate three-phase motion: load the sleeve, prime the perimeter (top edge first, then sides), fill the interior with overlapping vertical passes. The whole pane is wetted in under thirty seconds. The squeegee that follows has a uniform film to clear instead of a patchwork.
[Watch: The Sleeve Wash — Library Chapter 04 → /tools/technique-library/application-pass/sleeve-wash]
The two alternatives are documented in the same chapter. The Sea Sponge Dab is older, slower, more deliberate — and unmatched on textured or seeded glass where a flat sleeve cannot reach the recessed areas. The Spray & Spread is what most homeowners use, and it works fine if you do two things almost no one does: mist five spots instead of one big spray, and spread the mists with a clean folded microfiber before they evaporate. Pure spray-and-walk-away is not a technique; it is a hope.
The squeegee that follows a good application has almost nothing left to do. You are clearing a thin even film, not fighting dried soap and dry patches.
What the application stage is for
It is worth stating this explicitly, because the goal is more specific than "wet the glass." A working application has three jobs: it lifts the dirt off the surface and holds it in suspension (the surfactants do this), it provides the lubrication the squeegee needs to glide cleanly without dragging (the water film does this), and it covers the perimeter completely so the squeegee can reach all the way to the gasket on every pass (the edge-prime does this).
Skip the edge-prime and your squeegee passes stop short of the perimeter. Result: a quarter-inch ring of dirty water around the entire window that you will only see in the right light. Skip the dwell time — applying solution and squeegeeing it off in the same minute — and the surfactants never get a chance to do their job. Result: a window that looks streaky because the dirt was never lifted, only smeared.
A proper application takes thirty seconds for a residential window. A rushed one takes ten and produces work you cannot defend.
Stage 2 — Squeegee
This is the stage everyone thinks of as window cleaning, and it is the one that gets the most attention in instructional content. It is also the stage that produces the fewest of the actual problems most homeowners experience. The squeegee, properly applied to a properly wetted pane, almost always works. The streaks people blame on their squeegee are usually upstream — bad application — or downstream — skipped detail.
That said, there are three canonical squeegee patterns, each with its own use case.
The Fan Stroke
The pro showpiece. One unbroken motion from top corner to bottom corner — the blade never leaves the glass. The hand rotates through the curve so the rubber stays at a working angle throughout. Every pane done in one stroke, every time.
The fan is harder than it looks. It requires a wrist that has done it ten thousand times, a blade that is fresh enough not to skip mid-stroke, and a pane that is not so large the stroke fights physics. On a typical residential window — anything up to about three feet square — it is the fastest method that exists. On a six-foot picture window, the straight pull is more reliable.
[Watch: The Fan Stroke — Library Chapter 01 → /tools/technique-library/squeegee-strokes/fan]
The Straight Pull
The homeowner default — and a perfectly good technique when done right. Horizontal passes, top to bottom, lift the blade between strokes and wipe it on a clean cloth before the next pass. The wipe-between is the part everyone skips. The rubber holds dirty water for one stroke before it starts smearing; if you do not remove that water between passes, your second pass smears it back across the glass you just cleaned.
The wipe-between is so important it has its own animation chapter (Chapter 05, The Channel Wipe). If you take only one thing from this article, take this: the squeegee blade must be wiped clean between every pass on a straight-pull job, and the cloth used to wipe it cannot be the same cloth you are using to detail the perimeter.
The S-Stroke
The middle path. One continuous S-shaped curve covers the whole pane — easier to learn than the fan, faster than the straight pull. The technique most working cleaners actually use day-to-day, especially on awkward pane sizes that resist both alternatives. The curve must be loose and lazy, not tight; a sharp turn lifts the blade off the glass and breaks the stroke.
The streaks people blame on their squeegee are usually upstream — bad application — or downstream — skipped detail.
What never to do at this stage
Three rules, no exceptions:
Never squeegee a dry pane. The blade needs solution underneath it as a lubricant. A dry blade pressed against dry glass scrapes the surface — at minimum it leaves micro-scratches; on tinted or coated glass, it can ruin the pane permanently.
Never squeegee in direct sunlight. Solution evaporates faster than you can squeegee it off, baking the surfactant into the glass as a film that no amount of subsequent cleaning will lift cleanly. Wait for shade, even if it means coming back later.
Never press hard. The blade should glide, not scrape. Heavy pressure flips the rubber and leaves a thin water line behind it, which then dries into the streak you spend the next ten minutes trying to remove.
Stage 3 — Scrape (only if needed)
This is the optional stage, and the one with the highest stakes. If there are no deposits on the glass — no paint specks, no sticker residue, no hardened bird droppings, no calcium spots — skip it entirely. A razor blade has nothing to do on a clean pane except risk scratching it.
If there are deposits, this is where they come off. Not before the squeegee — debris loose on the glass gets dragged by the squeegee and produces streaks worse than what was there before. Not after the detail — wet razor work undoes the detail you just finished. The scrape happens between the squeegee and the detail, on a still-wet pane (the lubrication matters), and it follows three rules absolutely:
The blade is held at 25 to 30 degrees off the glass — never more. This is the working angle. A nickel laid flat against the pane is roughly 5°; the blade should be about five times that. If you can see your hand in the reflection of the blade, the angle is too steep, and you are now pressing a sharp edge into the glass instead of sliding under deposits.
The blade is pushed in one direction only — never both. A back-and-forth scrape grinds debris into the glass on the return stroke. One direction means one direction, even if you have to walk around the window to do it.
The blade is fully lifted between strokes. Gliding the blade back across the pane while it is still in contact with the glass is the second most common cause of scratches. Off the surface, then back to start.
[Watch: The Low-Angle Scrape — Library Chapter 03 → /tools/technique-library/razor-scrape/low-angle]
The Razor Scrape chapter includes an Angle Test animation that cycles through 25°, 45°, 60°, and 80° with a live verdict for each. It is the most useful single visualization in the library for anyone learning to use a blade on glass. If you have ever ruined a pane with a razor — and most people who have used one have — that animation explains exactly what went wrong.
If you hear a faint sandpaper sound while scraping, stop immediately. That noise is the blade contacting dry glass with a particle trapped under it. The next thing you will see is a hairline scratch that no cleaning will remove.
Stage 4 — Detail
This is the stage that separates a finished window from a window that is almost finished. After the squeegee, after any scrape, the pane looks done. It is not. There is a thin water bead around the entire perimeter where the squeegee blade ran along the gasket, and there are wet corners the blade could not reach. If you walk away now, that bead runs back across the dry pane within ten minutes and produces a curtain of streaks where there was clean glass before.
The detail stage is what prevents this. A folded microfiber cloth, traced once around the perimeter in a continuous L-shape — top edge, right edge, bottom edge, left edge — absorbs the bead and dries the corners. Done in thirty seconds. Skipped in two.
[Watch: The L-Perimeter — Library Chapter 02 → /tools/technique-library/detail-stroke/l-perimeter]
Three rules for the detail pass
Quarter-fold the cloth before starting. A quarter-fold gives you eight clean faces. One full perimeter uses one face. Eight perimeters per cloth, and then you refold or replace.
Always go top → right → bottom → left. Always. Working backwards smears the bead instead of absorbing it. The order is not arbitrary — it follows gravity, taking the bead in the direction it already wants to flow.
Light contact. Do not scrub. The fiber wicks water by capillary action; you do not need to push. If the cloth saturates before you finish the perimeter, rotate to a fresh face. A saturated cloth is a smear tool, not a drying tool.
The Corner Pinch sub-technique (also in Chapter 02) handles the 90-degree corners that the perimeter pass cannot fully reach. Two diagonals, never circles. Press into the corner along the horizontal, lift, press again along the vertical, lift. Circular motion in a corner pushes dirt into the joint instead of pulling it out.
The whole sequence, ranked by how often each stage is skipped
After fifteen years of training new cleaners — first in Copenhagen, then in New York — I can tell you with some confidence which stages get skipped most often by which kinds of people. The pattern is consistent enough to be diagnostic.
| Stage | Skipped by | Symptom |
|---|---|---|
| Apply (proper edge-prime) | Most homeowners | Quarter-inch dirty ring around perimeter |
| Squeegee (wipe-between) | Most homeowners | Horizontal smear streaks halfway down pane |
| Scrape | Almost everyone (correctly, when no deposits) | None — this is fine |
| Scrape (proper angle) | Most amateur DIYers attempting it | Permanent scratches on the pane |
| Detail (perimeter pass) | Almost everyone | Curtain of streaks visible after ten minutes |
The detail stage is the most-skipped stage by a wide margin. It is also the stage that produces the most visible failures, because the failure mode is delayed — the streaks appear after the homeowner has already declared the job done and walked away.1
If you take one thing from this article and add it to your routine, make it the detail pass. The squeegee is what people show off; the perimeter wipe is what makes the work last.
A note on the pole exception
Everything above applies to ground-level work — residential windows, ladder work, anything you can reach by hand. There is one exception worth flagging: pole-fed pure-water systems, used for second-story residential and commercial high-rise work, do not follow this four-stage sequence at all.
A pole system uses pure deionized water, no soap, fed through jets in a brush head at the top of an extension pole. The technique is brush, rinse, walk away. No squeegee — the pure water has nothing in it to leave behind, so it dries to nothing. No detail pass — there is no perimeter bead to absorb because the rinse water sheets cleanly off the gasket.2
If you are doing second-story work, the pole technique is dramatically safer than ladder work and produces equivalent results. The Library's Chapter 08 covers it in full. For everything below the second story, though, the four stages are the canonical sequence.
What to practice
If you are just starting and want to get good fast, here is the order I teach my apprentices:
-
Practice the detail pass first. It is the most-skipped stage, the highest-leverage stage, and the easiest to learn. Spend a week getting the L-perimeter sequence into your hands and you will already be ahead of 90% of homeowners.
-
Then practice the application stage. A proper sleeve wash is harder than it looks — the load-prime-fill sequence requires actual technique, not just enthusiasm. A week of applying solution properly will fix more streaks than any amount of squeegee practice.
-
Then practice the squeegee. Start with the straight pull and the wipe-between. Get the rhythm. Move to the S-stroke when the straight pull feels boring. Attempt the fan stroke only after you have done a thousand straight pulls. The fan is not a beginner technique no matter what YouTube tells you.
-
Practice the scrape last, and only if you need to. A blade on glass should make you slightly nervous every time. The day it stops making you nervous is the day you scratch a window.
The Technique Library has every animation I have referenced in this piece, plus eighteen more sub-techniques across the eight chapters. It is worth the hour to watch all of them at half speed at least once.
Glossary terms in this piece
- Cut-back — short horizontal pass at the top of a panel that gives the fan stroke a dry start
- Dressing pass — the final microfiber wipe along gaskets and corners
- Fan stroke — continuous S-shape squeegee pattern that clears a panel without lifting
- Four stages — Mara's wet-work-wipe-walk framework for cleaning a window properly
- Quarter-fold — microfiber folding for eight working faces from one cloth
- S-stroke — fan-stroke variant for tall panels, traced in S-shapes
- Squeegee — rubber blade in a metal channel; the trade-defining tool
- Straight pull — edge-to-edge squeegee strokes with quarter-inch overlap
- T-bar (washer) — fabric-sleeved applicator that lays solution before the squeegee picks it back up
Footnotes
Sources
-
National Glass Association, Glass Technical Paper FB01-00 (2023): Proper Procedures for Cleaning Architectural Glass Products — the industry reference for the soak → agitate → squeegee sequence, generous solution volume, and no metal contact in routine cleaning
-
International Window Cleaning Association / GANA, Proper Procedures for Cleaning Architectural Glass Products, updated bulletin — the same procedure as issued to working contractors, with the do/don't list
-
U.S. Geological Survey, Hardness of Water — the mg/L hardness bands behind the "your tap water is the streak" argument
-
Federation of Window Cleaners (UK), Guidance on Residential Window Cleaning, revised 2023.
Footnotes
-
The fourth stage — detailing — is what working cleaners call the difference between a finished window and a pretty good one. Skipping it does not produce streaks immediately; it produces them about ten minutes later, when the perimeter bead runs back across the dry pane. By then most homeowners have walked away. ↩ ↩2
-
Pole-fed pure-water systems are the exception to this sequence. The pure water has nothing in it to leave behind, so it dries to nothing — no squeegee or detail pass needed. See Chapter 08 of the Technique Library for the full pole workflow. ↩
Abby Giordano
Editorial team contributor covering the Northeast and New England beat. Articles bylined by Abby are researched and reviewed in collaboration with the Giordano Inc. editorial team and informed by interviews with practicing window-washing operators in the region, plus published trade and apprenticeship technique references.